Chocolate Bark – Bite into it!
Easy-peasy Bark
For chocolate aficionados bravely venturing forth into creating (and consuming of course) their own chocolates, a word of advice – Truffles and pralines need a fair deal of expertise and involve the intimidating chocolate tempering process. Heating and cooling to finely measured temperatures, moulding, filling, coating to name a few – clearly not your standard issue entry level creation to cut your (milk) teeth on. Instead try your hand at the easy-peasy chocolate bark – a sheet of chocolate topped with nuts, dried fruits or candy. So many combinations of flavour notes are possible – a chocolate bark is limited only by your imagination.
The first bite
My first taste of a chocolate bark was in London. Our boss, clearly a man of impeccable taste was treating us to a ringside view of the Phantom of the Opera. As we strolled down Piccadilly street making our leisurely way to the theatre, we passed La Maison du Chocolat and the boss insisted on treating us to possibly the best macarons in London (sadly, no longer operational in the UK). I could have happily spent hours in that place just breathing in the heady aroma of the quality chocolate! During my wide-eyed walk-through the shop I chanced upon a rum-n-raisin chocolate bark and was offered a taste. As the boozy chocolate melted on the palate leaving a rummy raisin to chew on, I decided then and there that I just had to re-create this experience.

The inspiration
Lindt Chocolate Passion – a cookbook from the masters had the easiest recipe to adapt. The ingredient math is child’s play! 400grams of chocolate of your preference, either Dark, milk or white. And one cup of whatever texture and flavour agent you want to add in. For example you could use milk chocolate, half a cup of roasted and cooled almonds and half a cup of chopped up apricots. Or you could use milk chocolate and a cup of cocoa pops. The ratio is really simple 400grams : 1 cup. While the Lindt recipe asks for the chocolate to be tempered, I don’t think this is necessary at all. The unevenness of the chocolate is quite distinctive of a chocolate bark and does not impact the taste an iota.
Use the best
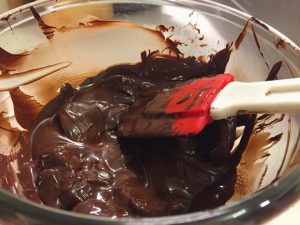
The quality of chocolate used makes all the difference in the world! I use Morde’s dark chocolate (not the compound which I find over-sweet) and Morde’s white chocolate compound. For special occasions I use Callebaut Dark couverture chocolate – you won’t believe the taste difference with this! Roast and cool the nuts if using and keep any other ingredient cleaned, measured and ready to be mixed-in. Line a flat tray or a largeish plate with wax paper or parchment. Melt the chocolate by your preferred method – either over a double boiler ensuring the bowl never touches the water or use the microwave to do the job. Blitz the chocolate in 2 and 1 minute bursts for starters stirring in-between and then in 30 second increments to fully melt the chocolate. Piet Hein has a poem that is entirely appropriate to the occasion
Timing toast
There is an art of knowing when,
Never try to guess.
Toast until it smokes and then
Twenty seconds less.
The technique
Basically don’t over-blitz the chocolate in the microwave! It’s okay to stop when you have a few minute lumps which will keep melting as you stir the chocolate. Be especially careful when working with white chocolate as it seems to burn really fast in the microwave. I like to mix in one cup of flavour makers though the conventional bark recipe has the chocolate poured into a sheet and the flavour makers scattered over the top. Pour the mixture onto the plate lined with wax paper.
Use a silicone or plastic spatula to spread the chocolate over the plate. Cool down the chocolate and pop it in the fridge to set. Wrap in wax paper and aluminium foil after 4-5 hours once it has set completely. You can drizzle the Bark with a contrasting chocolate to make it look pretty – if you are using dark or milk, then melt and drizzle some white chocolate on top. Use a skewer to swirl the chocolate and make pretty patterns.
Fave combinations
Some of my favourite combinations are below …
- Fruit and nut – Dark chocolate, roasted almonds, chopped apricots
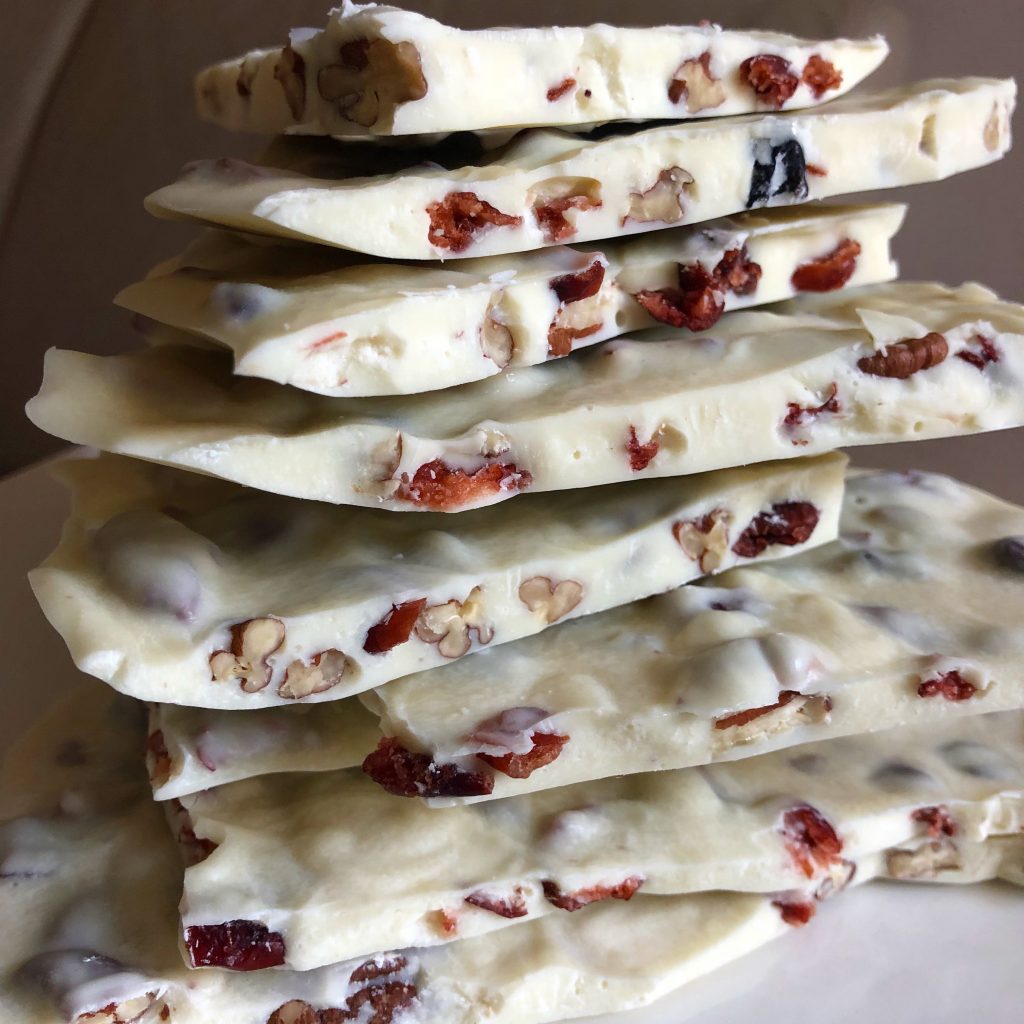
- White Fruit and nut – White chocolate, cranberries and pecans (try to source these versus substituting with walnuts)
- Crackle – White or Milk chocolate, Cocoa pops
- Rocky road – Dark chocolate, Marshmallows, salted or plain roasted peanuts
- Black or white – White chocolate & Oreo cookie pieces or Dark chocolate & Digestive biscuit pieces, contrasting chocolate drizzle
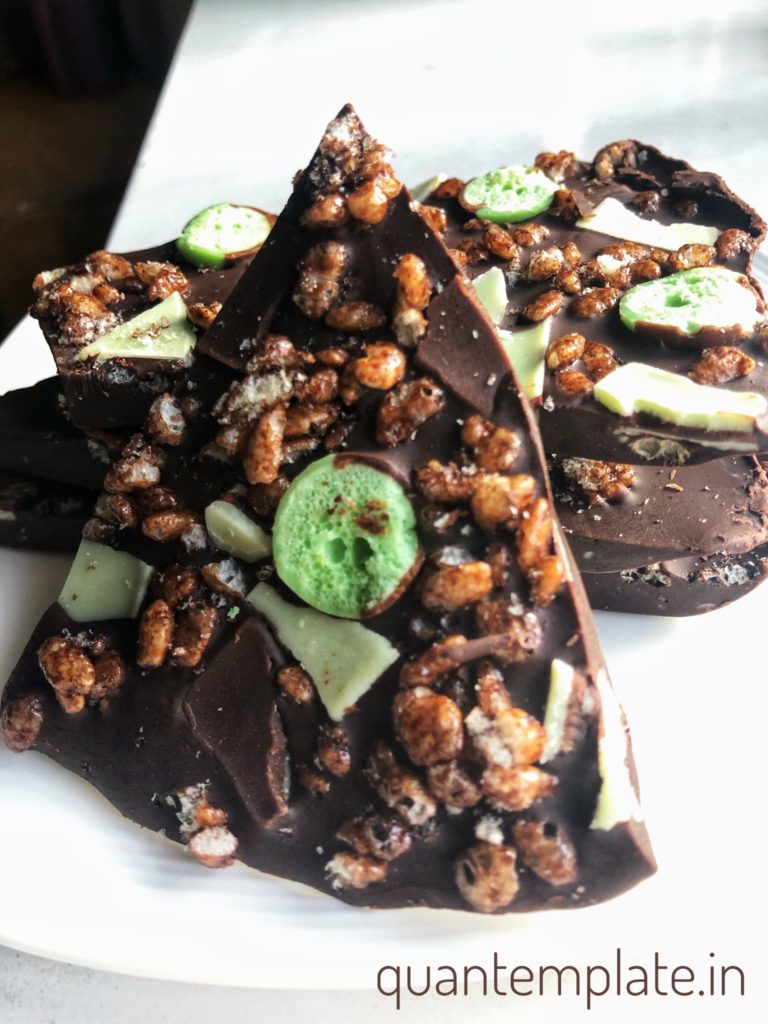
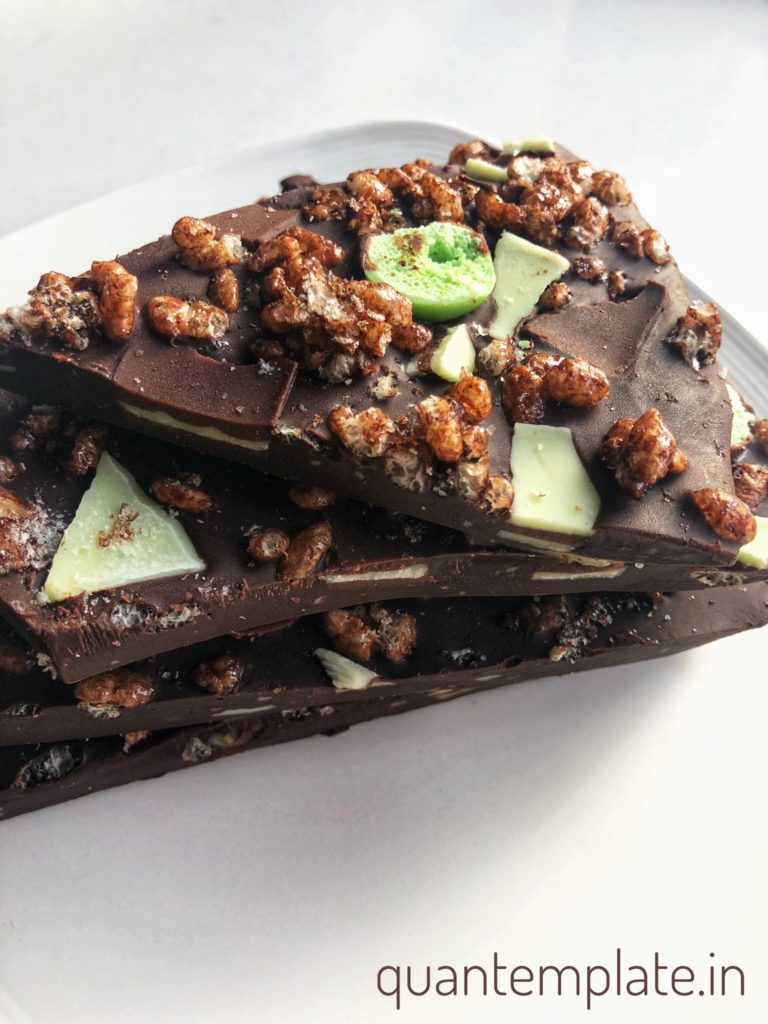
- Mint crisps – Dark chocolate with Andes mints or After eights, Mint Aeros and Cocoa pops
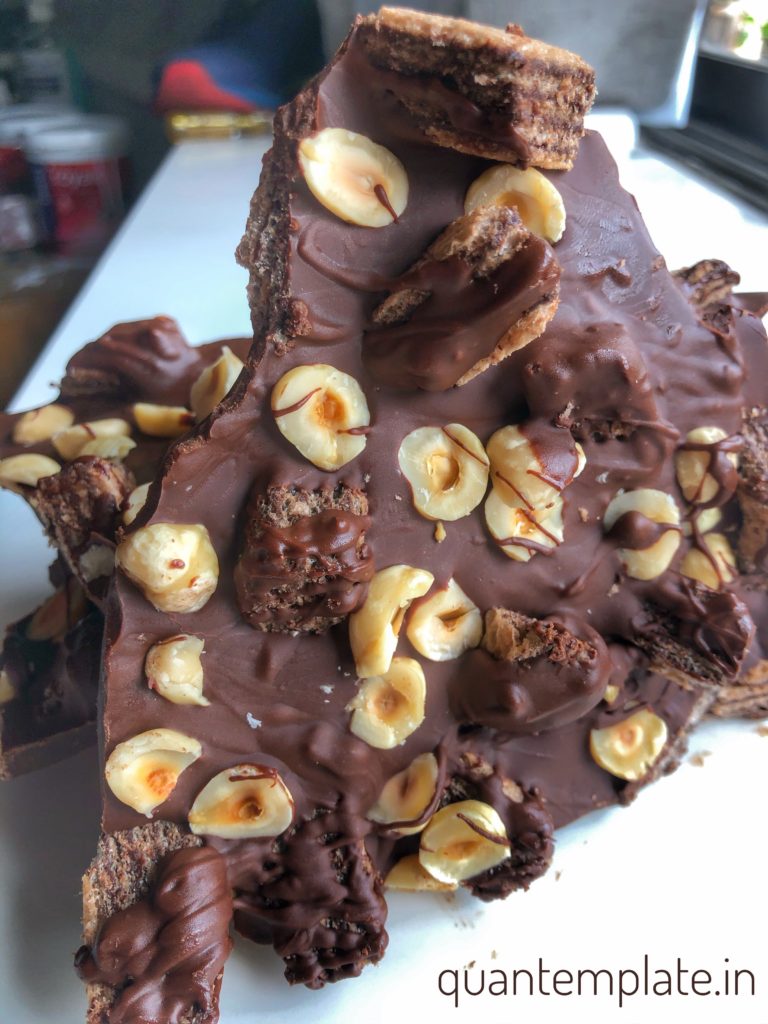
- Rocher – Milk chocolate, roasted hazelnuts, chocolate cream wafer biscuits
- Salted Cashew – Milk chocolate, salted cashews
- Rum-n-rasin – Dark chocolate (best quality), raisins (prunes work even better) soaked in heated rum till they plump out and drained before adding in
- Brownie bark – Milk chocolate, Chewy brownie pieces (about one and a half to two cups) and half cup roasted walnuts
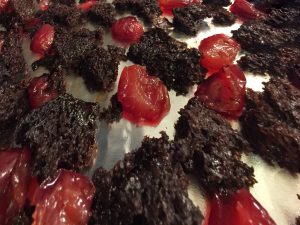
- Black forest – this one takes slightly more effort and time. Drizzle store bought chocolate sponge cake with rum and leave to soak. Layer a tray with 1 inch pieces of the cake – roughly about one and a half to two cups. Drop half a cup of chopped glace cherries in-between the cake pieces. Melt the dark or milk chocolate and pour over the cake and cherries taking special care to see that the gaps are all covered by chocolate. Leave to set for 5 minutes. Next drizzle some melted white chocolate and use a skewer to create swirl patterns. Pop into the fridge and let it set completely before tucking in.
A die-hard chocolate lover? Work your way through the list of Best hot chocolate in Mumbai . Dessert fanatics – checkout how to whip up this easy-peasy Mango Kiwi cheesecake nachos. Or read a fast food tale – a short story series themed around a food ingredient : Pompa’s bittersweet Chocolate (and cricket) centred story.
